Setting Up Cross-Platform CI for Market Hours
From $4 a build to my own Jenkins farm!
10 min read
There's not much that gets my heart racing like a properly-overengineered CI/CD setup. My journey to that goal ended up sending me to Microcenter on a mission and taught me more about macOS keychains than I ever wanted to know.
Here's how I ended up with a Jenkins controller on my Linux box orchestrating builds across a Windows PC and a brand new Mac Mini.
The Vision: Automated, Cross-Platform Releases
Market Hours is a C++ game built with Bazel, and I needed to ship direct and Steam distributions for three platforms: Windows, macOS, and Linux. Manually building, signing, and shipping 6 different artifacts was out of the question.
The release flow I had in mind was simple:
- each push triggers a build on all platforms
- pushing a
v*git tag triggers release and deployment stages to create a GitHub release and deploy to Steam
Originally I was hoping I could do all of this from my headless Linux box, but the security requirements for macOS builds meant I needed a real Mac in the mix somehow.
The GitHub Actions Phase (And Why I Left)
My preliminary research pointed me to GitHub Actions. Setting it up is genuinely easy — a release.yml workflow, a matrix across each platform OS, a couple of bazel build invocations, and you're pushing artifacts to a GitHub Release. It seems there's a GitHub action for everything, even macOS notarization and Steam upload. Too good to be true?
The answer became 'yes' once I got my first GitHub invoice.
GitHub's macOS runner per-minute billing is roughly 10x what Linux minutes cost. A single macOS build — including the notarization wait time — ran me $3-4 per build.
When I realized I spent over $30 in a heavy dev day I realized I was going to have to find a plan B. Especially as a solo dev building a game with no revenue in sight.
Jenkins, My Old Friend
I love Jenkins! I've been using it since I set up the first CI pipeline for Mekanism over a decade ago. It's satisfying to have full control over the build environment, and if you host it yourself you're only paying for electricity.
I already had a pretty powerful Linux box in my home lab with Jenkins installed, so I just needed to tie in a Mac and Windows machine as build agents. The Linux box would be the controller, orchestrating the builds and handling the deployment steps, while the Mac and Windows machines would be dedicated build agents for their respective platforms. Adding a build node onto the Linux box then offered the cross-platform trifecta.
The missing piece was a Mac. I do all my development on my MacBook Pro, but I'm not insane enough to use my personal machine as a CI agent. I needed a headless Mac that could sit in the corner of my office and churn out signed macOS builds.
The Mac Mini Decision
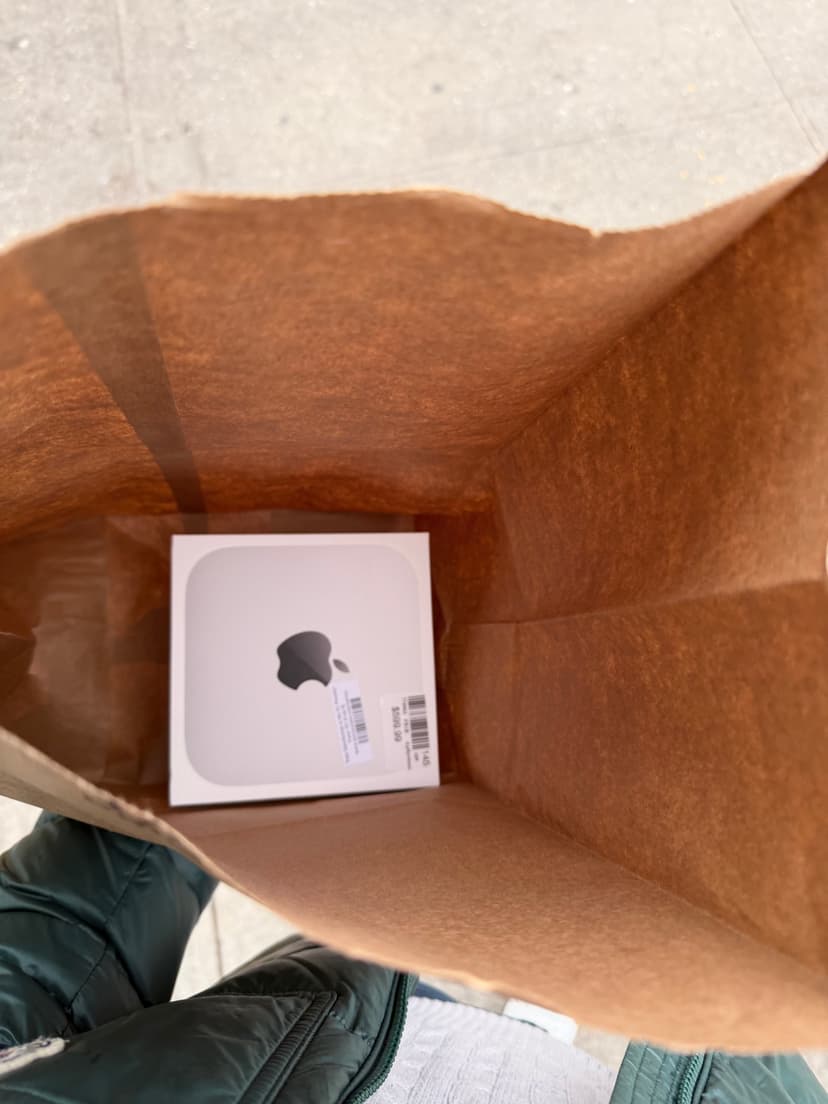
The math was straightforward. A Mac Mini would pay for itself in no time at my rate of development (i.e. build churning). I found a deal at Microcenter — $399 for an M4 base model — and booked a 50 minute Uber to pick it up.
The M4 base Mini turned out to be a great CI machine. Bazel builds are fast on Apple Silicon, and setting it up was straightforward. It sits in my home lab doing exactly one job.
The architecture I landed on:
- Linux machine (two responsibilities):
- Jenkins controller — hosts the UI, stores pipeline definitions, schedules and distributes work
- Jenkins agent labeled
linux— handles Linux builds / packaging
- Mac Mini: Jenkins agent labeled
macos— handles macOS builds, codesign, notarization - Windows PC: Jenkins agent labeled
windows— handles Windows builds and associated packaging
Clean right?
Setting Up the Agents
Linux Controller
Install Jenkins via the official package and expose it on your local network. The controller itself doesn't build anything; it just orchestrates. I added a local agent node with the label linux for Linux builds and deployment steps.
Note it's unsafe to expose Jenkins to the internet — I set up a tunnel to forward GitHub webhooks to my local Jenkins instance. Builds are triggered from this webhook or manually.
Windows Agent
The Windows agent connects back to the controller over JNLP. On the Windows machine, you download the agent jar from Jenkins, configure it as a Windows service (I used nssm to make sure it starts automatically), and assign it the label windows.
Make sure the user that owns the service has Python, Bazelisk, and the LLVM/MSVC toolchain installed. I wrote a bootstrap_windows.ps1 script that idempotently installs Bazelisk and my other build dependencies into a stable per-user bin directory, so the agent can be re-provisioned cleanly.
I hope I don't have to touch Powershell again for a long time.
Mac Mini Agent
The Mac Mini runs the Jenkins agent as a LaunchDaemon — a system-level service that starts at boot without anyone logged in. The plist lives in /Library/LaunchDaemons/, runs the agent jar as the service user, and Jenkins connects to it automatically on startup.
<?xml version="1.0" encoding="UTF-8"?>
<!DOCTYPE plist PUBLIC "-//Apple//DTD PLIST 1.0//EN" ...>
<plist version="1.0">
<dict>
    <key>Label</key>
    <string>com.aidancbrady.jenkins-agent</string>
    <key>ProgramArguments</key>
    <array>
        <string>/usr/bin/java</string>
        <string>-jar</string>
        <string>/Users/service/jenkins/agent.jar</string>
        <!-- controller URL, secret, etc. -->
    </array>
    <key>RunAtLoad</key>
    <true/>
    <key>UserName</key>
    <string>service</string>
</dict>
</plist>
Load it with sudo launchctl load -w /Library/LaunchDaemons/com.aidancbrady.jenkins-agent.plist and the agent comes up on every boot.
The Keychain Nightmare (And How I Fixed It)
Here's where I spent most of my debugging time. Apple truly cares about security, and rightfully so. Unfortunately, it's exactly this that makes codesigning and notarization work in a headless CI context a nightmare.
My macOS build script does codesigning using a temporary keychain: it generates a random UUID password, creates build.keychain-db, imports the Developer ID .p12 cert, sets the key partition list, and then calls codesign. This works perfectly locally and worked on my GitHub Actions runners.
Of course, my luck changed on Jenkins. I dug into the logs and found unhelpful errors from codesign:
errSecInteractionNotAllowed: Interaction is not allowed with the Security Server.
More debugging: security find-identity -v -p codesigning on my MacBook successfully returned 1 valid identity. The same command on Jenkins returned 0 valid identities — even after I'd imported the cert into the temporary keychain. But if I passed the keychain path explicitly, the identity showed up. So the cert was there, but codesign couldn't see it.
The root cause turned out to be something subtle about how macOS security works in headless contexts. The agent was running as a LaunchDaemon — a system-level process — and the Security Server operates differently when there's no active user session. The keychain search list, the default keychain, even the partition-list ACLs behave differently because there's no "Aqua session" (a real logged-in GUI session) backing the process.
The fix: add <key>SessionCreate</key><true/> to the LaunchDaemon plist. This tells launchd to create a proper security session for the process, which gives the Security Server the session context it needs for keychain operations.
Obviously I didn't know any of this when I started debugging. GPT and Claude both were surprisingly unhelpful with this one, and I couldn't find any useful docs or Stack Overflow threads. As a last-ditch effort, I took my woes to Grok, and it one-shotted the problem and the solution immediately. Credit where it's due!
<key>SessionCreate</key>
<true/>
Two lines, half a day of debugging.
After that, the existing keychain bootstrap flow worked correctly: create a temp keychain, unlock it, set the partition list, add it to the search list, run codesign.
The Jenkinsfile
The final pipeline is straightforward. The Linux controller picks up a tag push via GitHub webhook, and the job fans out:
pipeline {
  agent none

  stages {
    stage('Build') {
      parallel {
        stage('Windows') {
          agent { label 'windows' }
          steps {
            checkout scm
            powershell 'scripts\\ci\\bootstrap_windows.ps1'
            powershell '''
              & $env:PYTHON_EXE scripts\\build_windows.py steam
            '''
            archiveArtifacts artifacts: 'dist/windows/**'
          }
        }
        stage('macOS') {
          agent { label 'macos' }
          steps {
            checkout scm
            sh 'python3 scripts/build_macos.py'
            archiveArtifacts artifacts: 'dist/macos/**'
          }
        }
      }
    }

    stage('Release') {
      agent { label 'linux' }
      steps {
        // Download archived artifacts, create GitHub Release,
        // upload to SteamPipe
      }
    }
  }
}
For the final version I used a matrix section to neatly run the build stages in parallel. Once both complete, the Release stage runs on the Linux controller to create a GitHub Release and kick off the SteamPipe upload. Secrets (the p12 cert, Apple ID, notary credentials, Steam credentials) are injected via Jenkins credentials binding.
End Result
Tagging a release looks like this:
git tag v0.4.2; git push origin v0.4.2Jenkins picks it up via webhook, fans out to the Windows PC and Mac Mini simultaneously, and 10 minutes later I have:
- A signed, notarized
.appbundle and.dmgfor macOS - A Windows
.zipand.exeinstaller - A Linux
.tar.gzand.AppImagefor good measure - All archived in Jenkins and published to a GitHub Release
Alongside the direct distributions, the build matrix is also configured to create Steam builds and upload them to SteamWorks.
Helpful Tools
- nssm — the Non-Sucking Service Manager was a lifesaver for setting up the Windows Jenkins agent as a service that starts at boot.
- rcedit - a command-line tool for editing Windows executable resources, which I use to set the icon on the
.exeinstaller. - dmgbuild - a simple CLI tool for creating
.dmgfiles on macOS with custom backgrounds and icon arrangement. - appimagetool - a tool for creating AppImage bundles on Linux, which simplifies distribution without needing to worry about different distros and dependencies.
- iscc - the Inno Setup Compiler for creating Windows installers from a simple script.
- 7-Zip - tried and true for creating
.ziparchives on Windows, which I use for the direct distribution alongside the installer.
All of these tools are invoked from the headless build scripts and are installed as part of the agent bootstrap process.
Lessons Learned
GitHub Actions is genuinely great for getting started. The YAML-driven matrix, the actions marketplace -- all in all my GitHub Actions experience was positive. But the macOS per-minute pricing is a dealbreaker for any non-trivial build volume. I was priced out within a week.
The <SessionCreate> issue is a nasty rabbit hole. If you're running a Jenkins agent as a LaunchDaemon on macOS and doing any keychain work (codesigning, notarization, or even just security CLI calls), add <key>SessionCreate</key><true/> to your plist. This is not well-documented and the error messages pointing to it are indirect at best.
The whole setup cost me about $400 for the Mac Mini and a long weekend of debugging keychains. Compared to the alternative of paying per build indefinitely, it was obviously the right call. Plus, it served as a great excuse to buy a new piece of Apple hardware!